Showing posts with label ikea hack. Show all posts

Wednesday, November 11, 2015

Ikea Bygel Bar Cart *Hack*

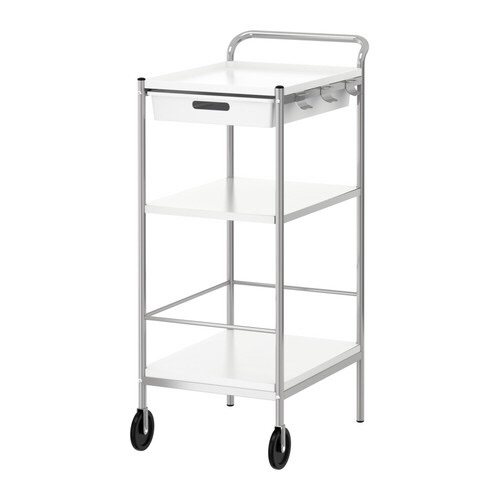
When we moved into our condo a few months ago, I came up with several projects I wanted to complete to make our place more personal. The first thing on my list was to make a bar cart to hold all of our liqueur. I instantly started searching "Ikea bar cart hack" and saw some really nice before and afters with the Bygel utility cart.

The Bygel cart on the Ikea website.

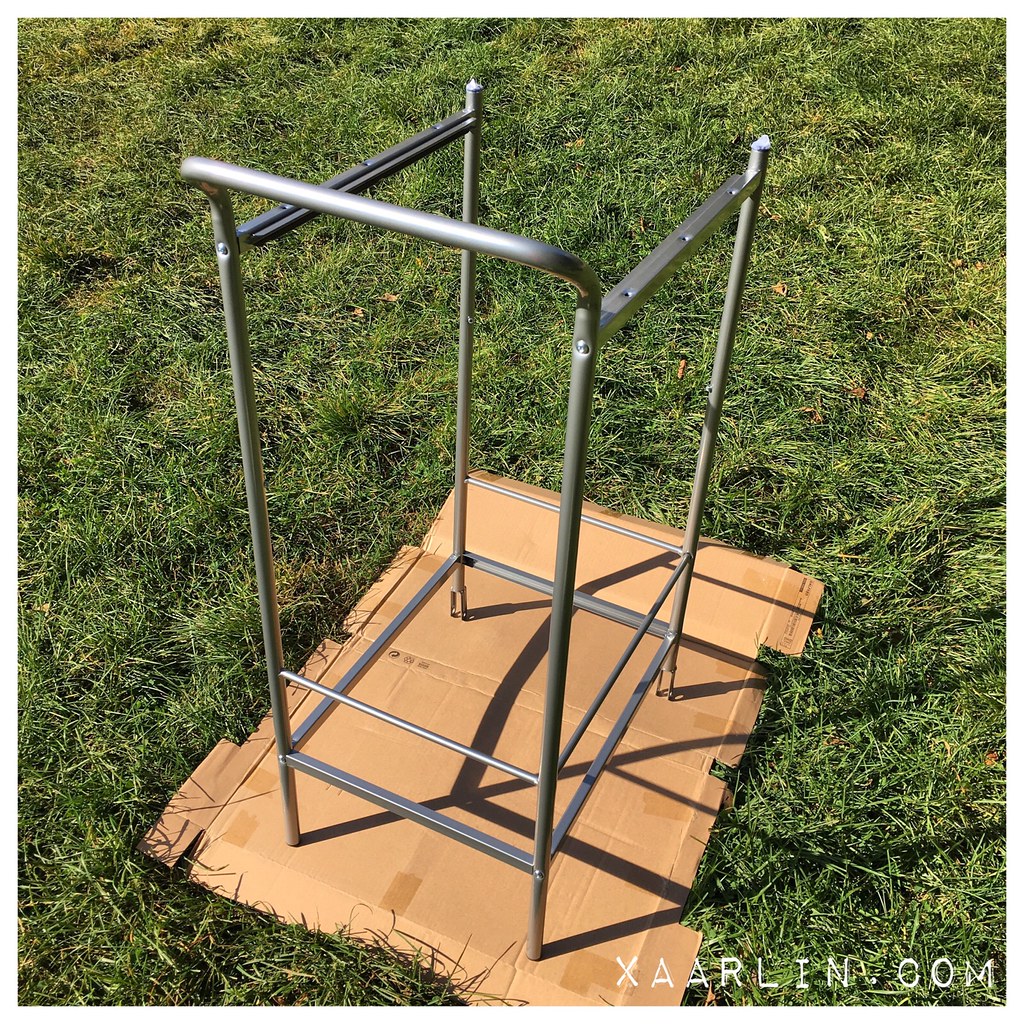
I assembled the frame of the cart and took it to the park behind our place to spray paint it.
The "before"

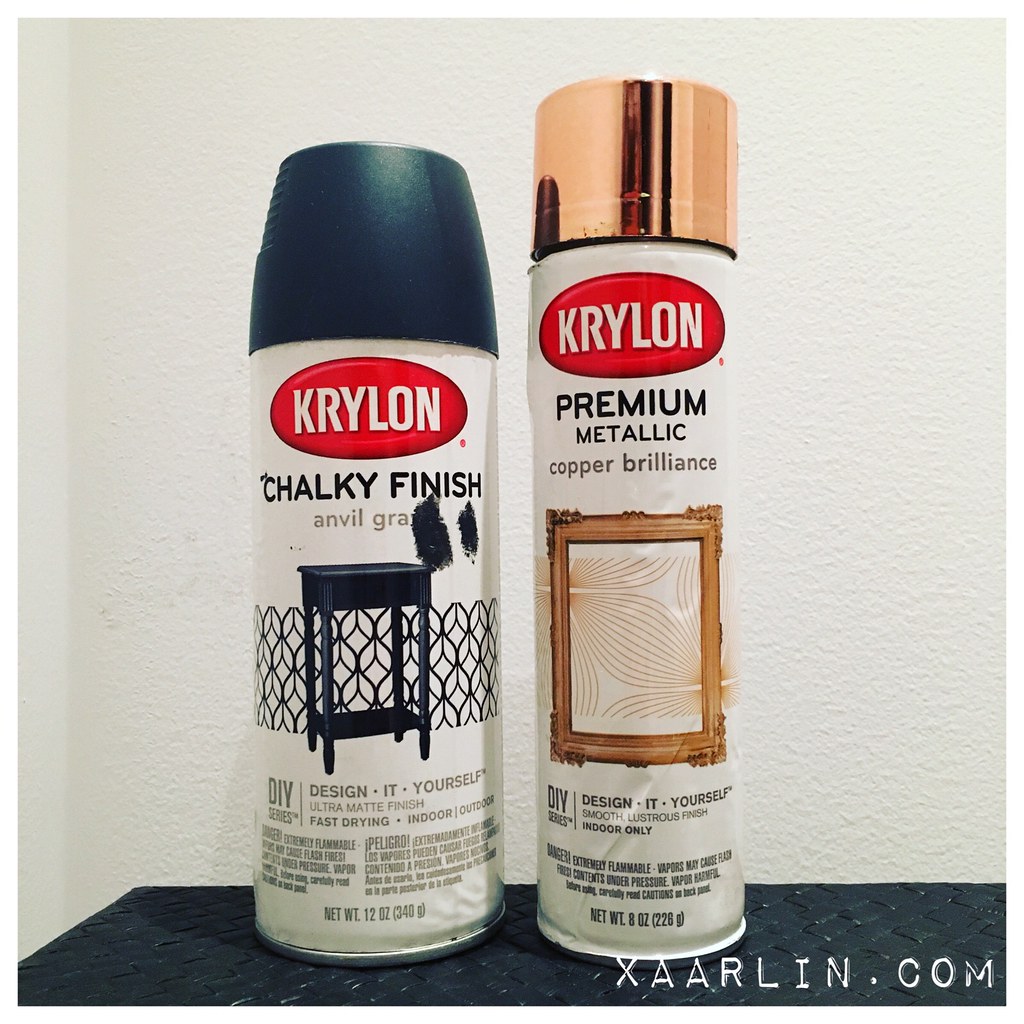
I bought Krylon metallic copper spray paint for the frame because I knew it would go really well with the colors currently in our condo. 

Most of the bar cart "afters" I saw online only painted the frame- usually gold. I didn't like the way the white trays looked, so I researched spray paint and found the "chalk finish" Krylon cans. In my mind I thought a nice shiny copper frame coupled with matte gray-black trays would look really sharp.
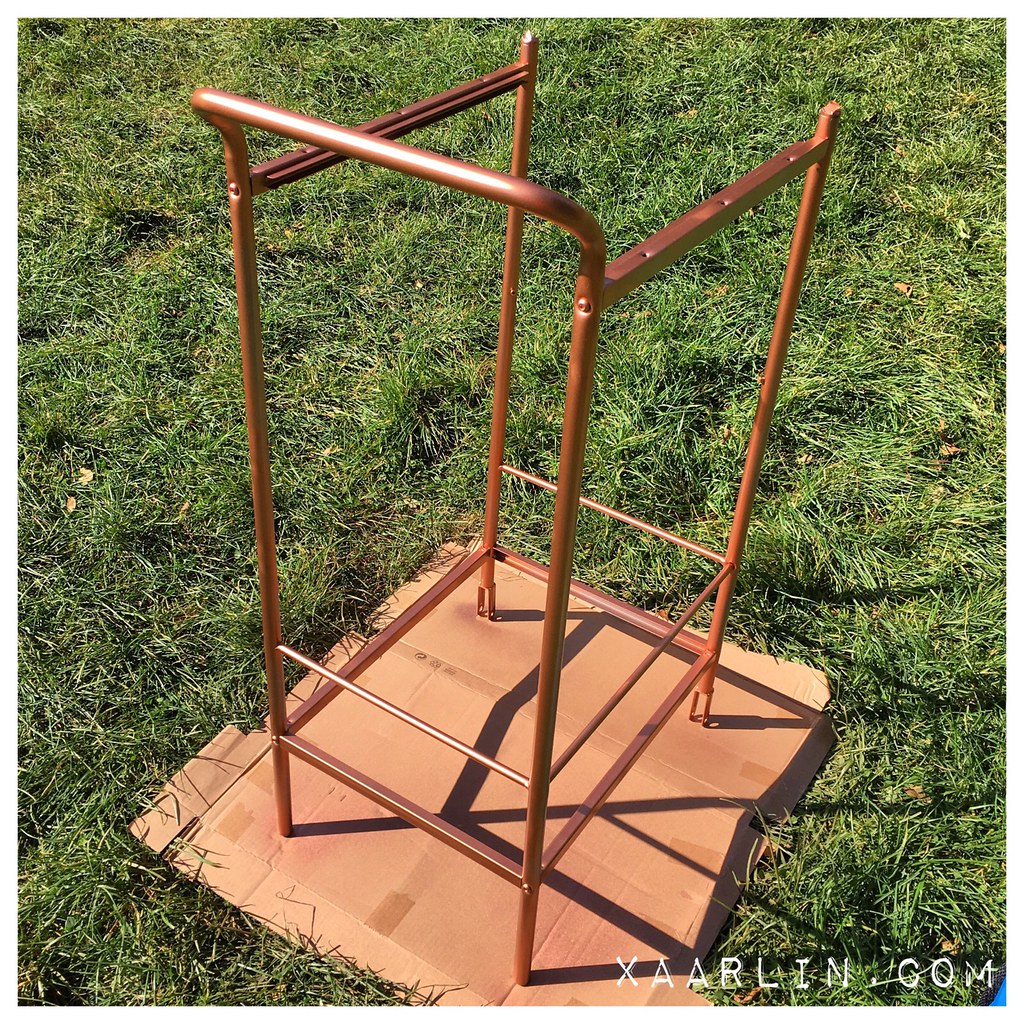
I only bought one can of metallic spray paint because I wouldn't be covering much surface area. BUT, the day I went to paint it, the wind was a lot stronger than I perceived and while this first pass looked good in the bright sun, it looked uneven when I brought it back into our place. Needless to say I had to buy one more can to finish the job.

A few weeks later on a calm warmish day, L and I took the frame and trays to the alley behind our place and finished the frame plus all of the trays.

After letting the cart dry, I had to disassemble it to put the trays on it which scratched the paint a bit. I got really frustrated at this point, but made sure the cart was fully assembled before I took it out on the balcony to touch up the areas on the frame that got scratched. I decided not to use the drawer that came with the cart and I also haven't found a use for the hooks.

Total cost: $56.  Bygel Cart $29.99, Metallic Spray Paint x2: $14 total, Chalk Finish Paint: $12
The finished product! 

A few nights ago I unwrapped all of our liqueur and arranged it on the cart. 
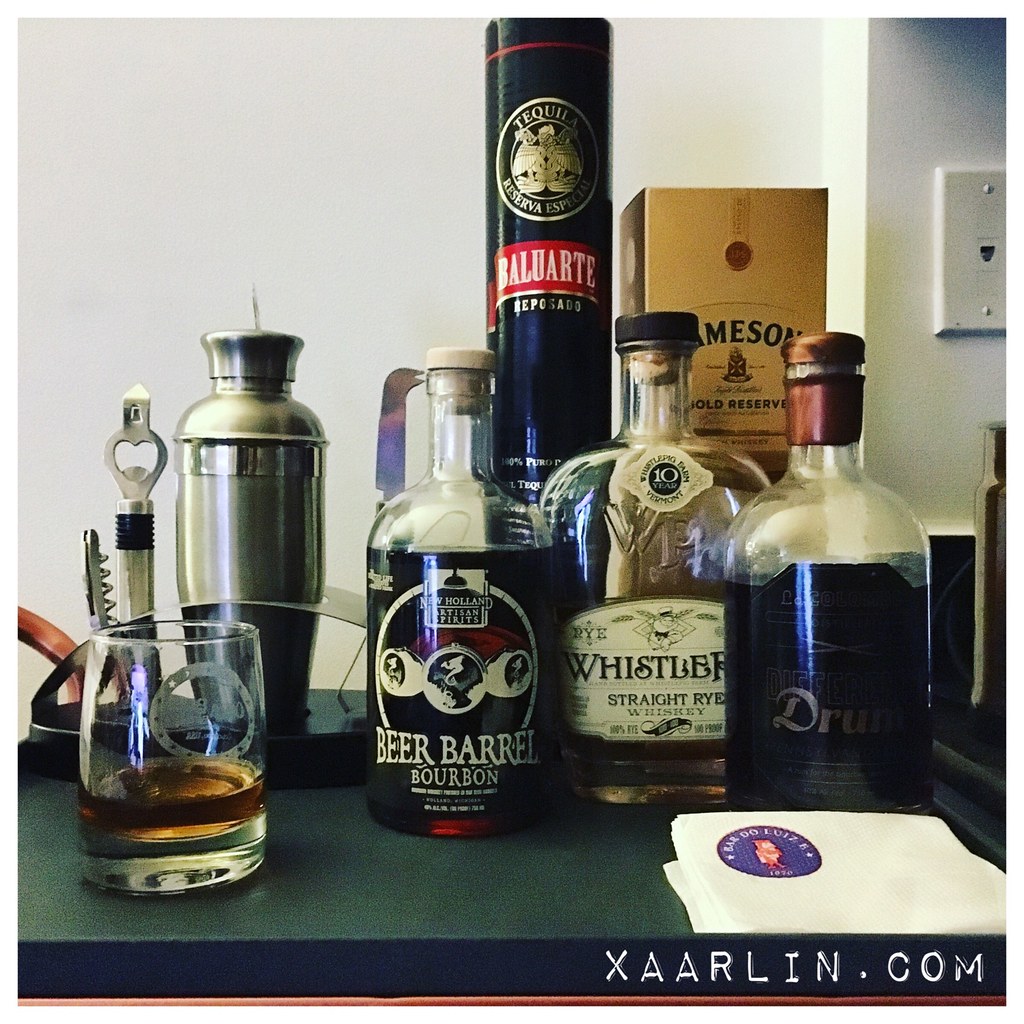
Top shelf of the cart stocked with "Bar do Luiz" napkins (we snagged while in Brasil last time), our cocktail shaker kit, New Holland Beer Barrel Bourbon, Whistle Pig Rye Whiskey, La Colombe Different Drum Rum (with coffee), Jameson Gold, and Baluarte Resposado Tequila.
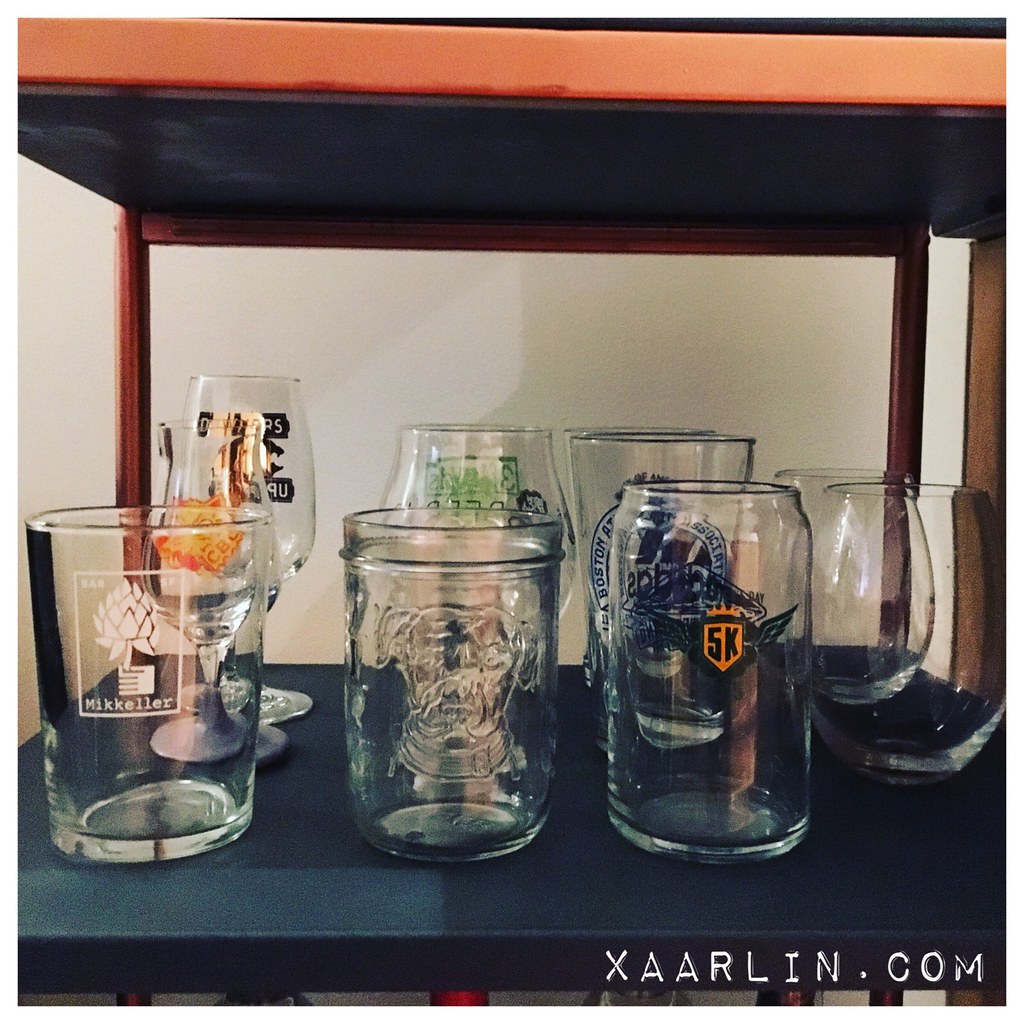
Second shelf with a random assortment of beer glasses and stemless wine glasses taken from the cabinets I could reach in the kitchen.
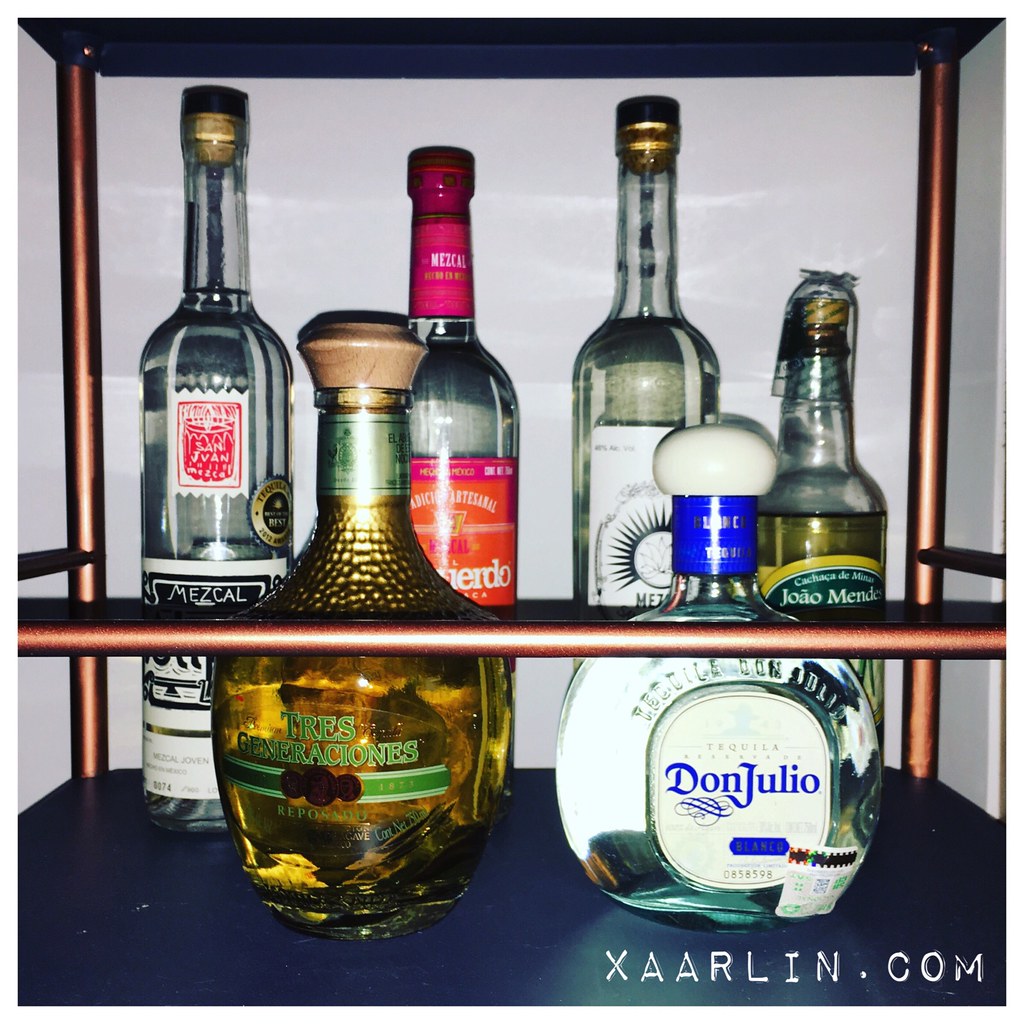
Bottom shelf stocked with more and more Mexican spirits- Tres Geraciones Resposado Tequila, Don Julio Tequila Blanco, Alipus Mezcal, El Requerdo Mezcal, Santa Pedrada Mezcal and Brasilian Cachaca from Joao Mendes.
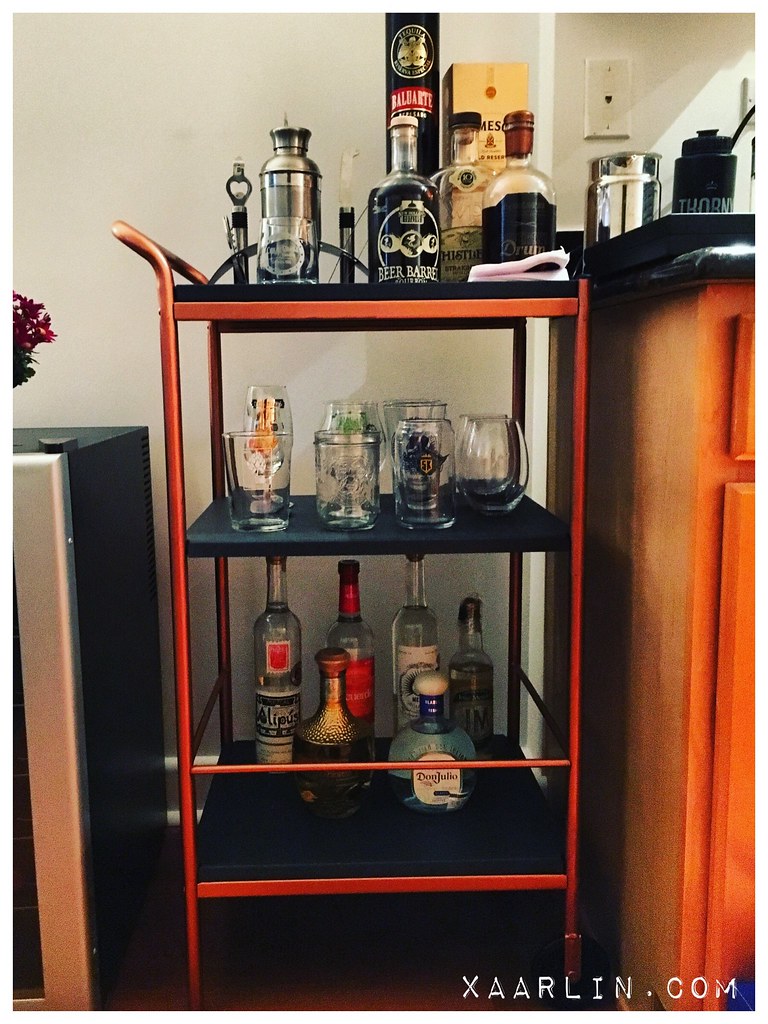
Im really happy with how the cart came out, and also happy that we now have a dedicated place to store our booze (as opposed to random cabinets or on the countertop). I plan to get some bitters and drinking vinegars to add to the cart and will learn how to make some simple mixed drinks.
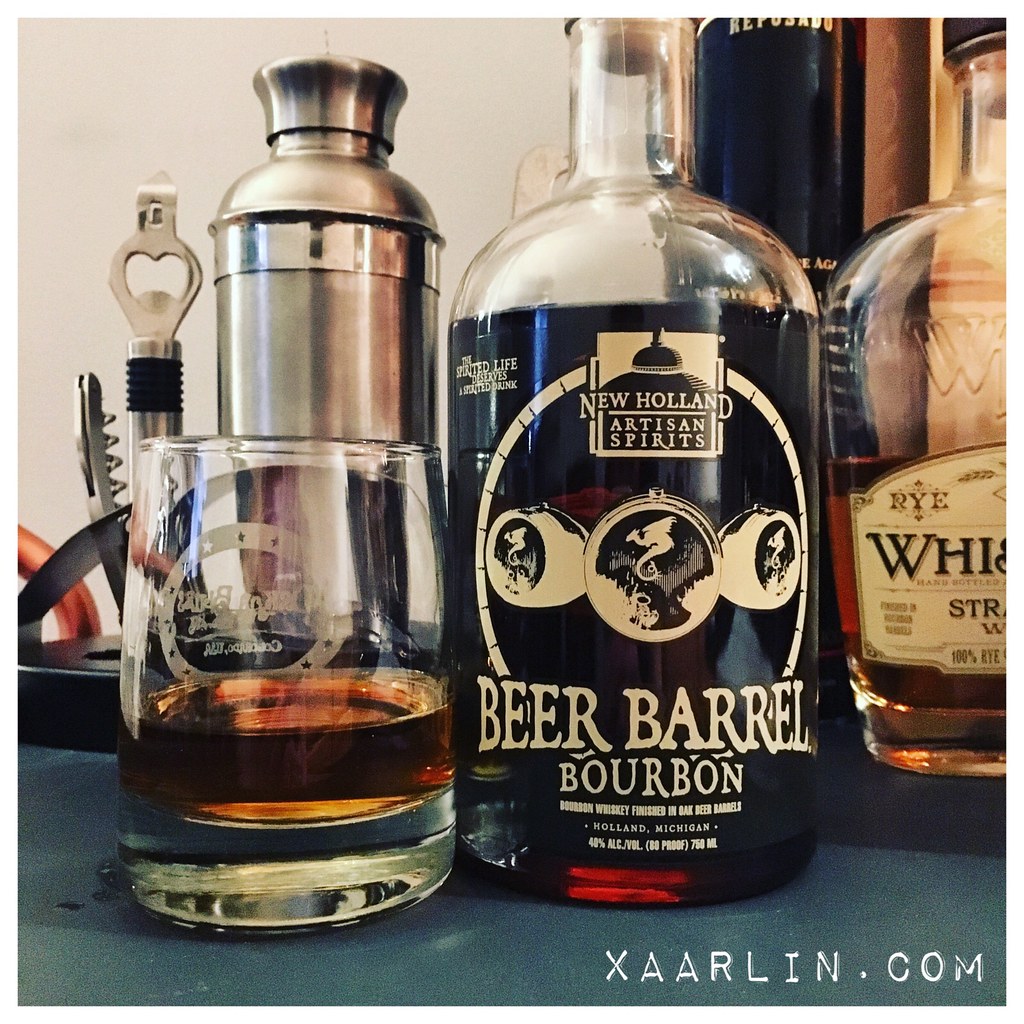
Last night while snapping photos for this post I drank some of the New Holland Beer Barrel aged bourbon- which was just as delicious as it sounds.

Cheers!

-Xaarlin

Tuesday, May 21, 2013

That time I ran a bunch and refinished dressers

This weekend I was busy. Like really busy.

I woke up early Saturday to beat the heat for my long run and then was instantly mesmerized like a child while watching a huge helicopter remove and replace AC units on a building near mine. As a result, the run was delayed 45 minutes. But it was totally worth it!


I ended up running 14 miles in 2 hours- one of my longest runs this year. It was hot. But felt really good to sweat. The path was crowded but not too bad. I took one salt tab around mile 7 and water from the fountains. Gu/carb loading are seriously overrated. (In my opinion). Try running long without carb loading the night before or try not taking any GU during a long run. See what happens, I dare you.


Totem waaaay north of my place.

When I returned from my run, I had one major goal: to refinish my new ikea dressers


I had put the 3 "Rast" dressers together the night before.


After getting a super yummy iced mocha drink from Caribou post run, it was refinish all the dressers time!


my basket of dresser refinishing supplies- Cheesecloth for applying stain, ebony stain, gloves, brushes for the polyurethane, sandpaper, tact cloth for removing debris and paint thinner.

The stain went on easy. It was just time consuming for the 3 dressers and 9 drawers.


After 1 coat.


Every 2 hours I would put another coat of stain on, for a grand total of 3 coats.


after 3 coats


Then I was exhausted. And it was time to let the stain dry over night before applying the polyurethane.

Sunday I took the CB dog on a run. It was hot and we ran/walked. He was enjoying himself immensely. I love seeing my little man so happy!


After our run it was time to finish the dresser project. I had to sand the dressers/drawers and then use the tact cloth to get all the dust/debris off of the surface before applying the polyurethane.


CB passed out and I was jealous.

After applying one coat, I let it sit for a while. Once it was dry, I decided one coat was enough. (Mainly because it looked nice and because I was done with this project!)


The finished product!!


I bought some stainless steel knobs (also from Ikea) to complete the look. But, I didn't buy enough (thought there was one knob per drawer instead of 2) so the final 4 drawers will get their knobs this week when the extra ones arrive.

All in all it was a good project for a weekend. I am very happy with how the dressers came out and am already thinking about more projects like this to do in the future. While this project wasn't difficult at all, it was very time consuming.

Overall cost:

$35 per dresser at Ikea
$60 worth of supplies to refinish them.
$5 per 2 knobs from ikea
Priceless- my time.

The average cost per dresser ended up being around $70.

I wanted these to be simple- dark stain to match our other furniture and better knobs than the stock knobs that came with the set.

There are loads of pages on the Internet devoted to "Ikea Hacks" which show you how to take boring Ikea furniture and turn it into something amazing, if you're into doing a project like this.

- xaar